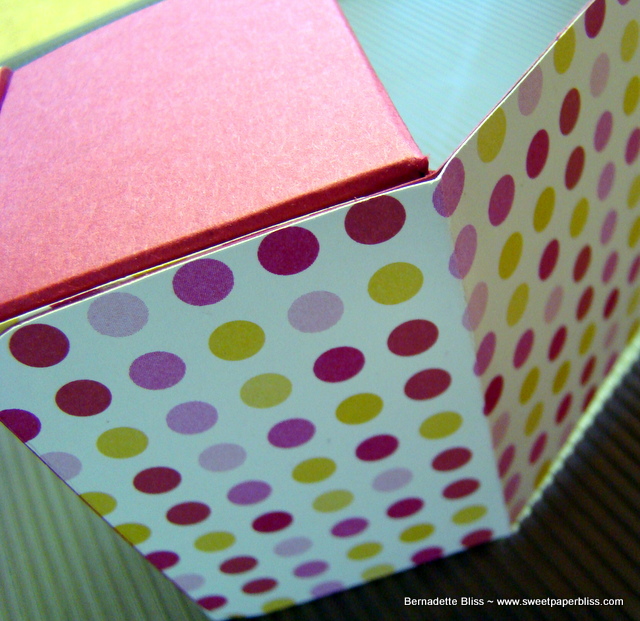
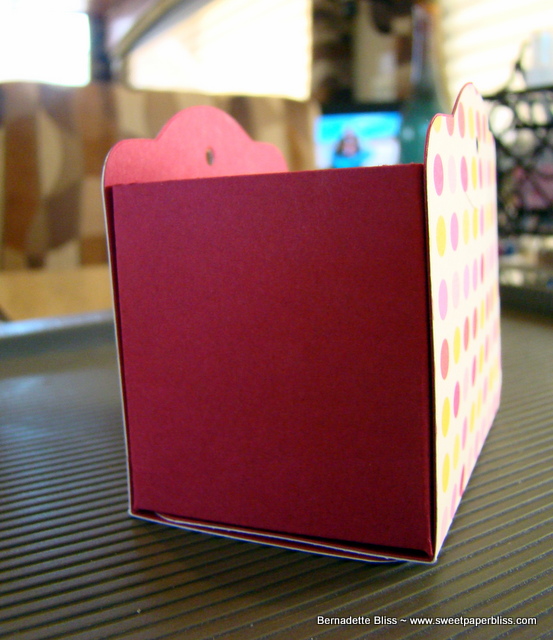
Showing posts with label Print Poetry DSP. Show all posts

Wednesday, April 17, 2013

Simply Mused


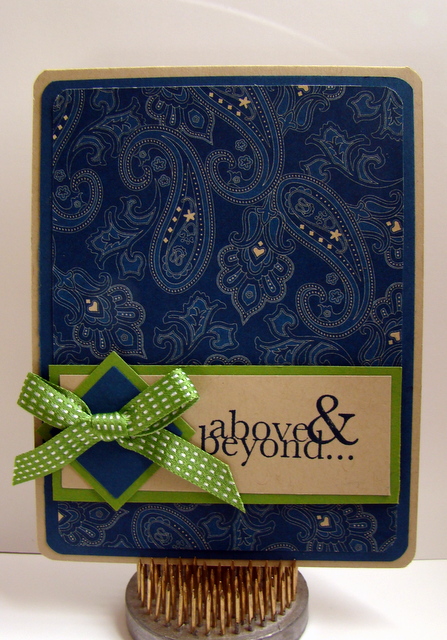
With a touch of Gumball Green. I have been looking through my sketch files 
the past couple ofdays and came across this layout from 2011 by Lisa Spangler. She had used a beautiful, soft Paisleyprint which I loved. The only paisley I had was the darker one from the Poetic Poetry DSP.Although I had tried Primrose Petals and Summer Starfruit as the accent color, Gumball Green won out! It's such fresh and trendy looking color.

I like the combination and I have used that green very little since I bought it. Another one of those items that needed some crafting "love". Lisa did not add the triangles, but I just felt it needed something extra, so I used them at an angle for some interest. This is certainly a card that can be massed produced because of its simplicity.  I'm have been thinking of several other papers,color combinations, and sentiments that would work well. 
How about you?


RECIPE


Paper: Crumb Cake CS 120953, Gumball Green CS 126840
Midnight Muse CS 126843, Print Poetry DSP 129312

Stamp: One in a Million 126382

Ink: Midnight Muse 126860

3/16" Corner 119871, Square Punches, 3/8" Stitched Satin Ribbon (Gumball)

Stampin' Dimensionals, Glue Dots, Multipurpose Liquid Glue


Thursday, March 28, 2013

T.N.T. Thursday

Welcome back to another T.N.T. Thursday. Today's project is something that has been around for some time, but I was thinking about Spring, friendships and flowers this past week, so I decided to combine them in this tutorial.
This card incorporates a sweet Corner Bookmark that slips off and can be used to mark a page in a book, a magazine or even a Stampin' Up! catalog.  :>}


Let's get started! 


 Some of the products used on this Card/Bookmark


1. Stamp and cut your floral pieces, stamp your sentiment and cut that 
and the larger Label and set aside. Also cut your card layers and bookmark piece. 
This card is a side fold. 

Card: 4 1/4" x 5 1/2", 4"x 5 1/4", 3 3/4" x 5"
 Bookmark: cut at 4"x4"


I stamped and used the Big Shot to cut the flowers and stems from the Secret Garden Bundle.  I did cut more then I would probably use, but I like to have a variety just in the event my design takes me another direction then what I planned.


2. Now you can start assembling your card base.

I choose to paper pierce the cut Labels Framelits pieces, but it certainly is not necessary.
**A note on the stamped sentiment. Just allow yourself room to place the flowers and leaves so they do not cover the sentiment. In my example, I stamped it on the upper half of the framelit.


3. Complete the front of the card adding your sentiment, framelit layer, flowers and leaves.
I used Stampin' Dimensionals under the sentiment base and on the flowers. I attached the leaves using a two way glue pen. And added some SU Basic Pearls to the centers of the flowers.


4. Now we can assemble the bookmark.

Fold one side of the 4x4 piece so it forms a triangle making sure the triangle is even at the bottom. 
(This is how we did the Triangle cards several weeks ago)

I then ran the straight side through the Big Shoot with the Large Scallop Edgelit. 
This certainly can be left as is or you could use a border edge punch.


5. Cut a thin strip of paper and run SNAIL up one side making sure
there is no residue on the edges of the strip.

 Place the sticky side up and under the folded triangle piece.
 This is will keep the center of the triangle together.
 Trim with paper snips close to the bottom edge so it is not visible.


6. Next  fold the glued scallop edge to the base of the bookmark.


7. Embellish, the fun part,  and your are finished. Well almost...


8. Write a sweet note to a special friend on the inside. 
Slip the bookmark on the corner of the card, and then pop your 
special little gift into the mail. 


I hope you enjoyed this tutorial and will give it a try. As always, I would love to hear from you.

Have a blessed week and stay CRAFTY!

Bernadette


Wednesday, March 13, 2013

Thank God


Today's card is one that I'm linking to MOJO284 Blog and Word Art Wednesday Blog. I originally was going to do a black, white and red combo with this sketch and may still, but the Print Poetry DSP 129312 which is in the Spring catalog, "spoke" to me again and besides it is certainly a Spring looking paper. Appropriate for this time of year. This is just a 4 1/2" x 6 1/2" pack that has 48 sheets of paper: 4 ea. of 12 double-sided designs. This is my fourth card using this pack. 
Can you tell I like designing with it!

RECIPE

Paper: Print Poetry 129312, Patio Party DSP 126916, Midnight Muse CS 126843
Summer Starfruit CS 126839, Whisper White CS 100730

Stamp Set: Trust God 126702, Papillon Potpourri 123757

Ink: Midnight Muse 126860, Lucky Limeade 126984

Sweet Extras: Ribbon - 3/8" Stitched Satin Ribbon/ Midnight Muse 126847
 Pearl Basic Jewels 119247, Perfect Polka Dots Folder 117335

Punches: 2 3/8" Scallop Circle 118874, 1 3/4" Circle 119850, Bitty Butterfly 129406

Edgelits - Large Scallop 127019

Paper-Piercing Tool, Stampin' Pierce-Mat, Stampin Dimensionals, Anywhere Glue Stick
 SNAIL Adhesive, Glue Dots


Make it a wonderful day and stay CRAFTY!


Thursday, March 7, 2013

T.N.T. Thursday


Today is reveal day on how to make this sweet little Easter Gift box. 

Let's get started!


These are the pieces you will need to assemble the box. I used the Two Tag Bigz Die to cut the four main pieces. Also shown in the picture is the second tag on the die. It will not be used, but I thought I would give you a look at what it looked like. Once embellished it would make a great bookmark.

1. Cut four of the tags. Two in the patterned paper and two from the solid CS.
I used Print Poetry for the outside of the box 
and Raspberry Ripple for the inside.
 You can cut two at a time in the Big Shot, but not more then that.

2. Cut a piece of CS 7 1/2" x 5/5" for the handle


3. For the box frame, cut a piece of solid CS 2 7/8" x 6 3/4". 
 Score at 1/2" in the landscape position
 and 2" in the portrait position.


4. Taking the 4 tag pieces, fold each piece on the fold lines. Run a bead Multipurpose Liquid glue
  around the outer edge. Place one patterned piece and one solid piece together 
making sure to line them up.


5.  Take the "box" piece and cut up to the score line on the 2" end. 
Do this on both sides as shown in the picture


6. Score the box on all score lines. Taking a piece of Sticky Strip
 and run it up the back side of the 2" end.


 7. Next place a small piece of Sticky Strip along the longer side 
diagonally as shown in the photo.


8. Now it's time to assemble the box. Expose the sticky strip and
fold the short sides up and secure by burnishing the edge. 
Do this on all four sides.


8. Take the completed outside pieces and run two pieces of Sticky Strip 
across bottom edge of the inside solid side.


9. Attach the outside piece to the bottom of the box making sure
 you have the scored edge lined up with bottom edge.


This is how the box should look when the 2 pieces are added.


10. Next stamp your image with StazOn Basic Black on Watercolor Paper. Let it dry a few minutes. I used Watercolor Wonder Crayons and an Aqua Painter to color the image. You can also use Stampin'Write Markers or Ink and Blender Pens.


11. When your image is dry, using the 1 3/4" Circle Punch, punch out the image. 
This will be a little tight, so be careful not to clip his ears. 
Using the Small Scallop Punch, punch out a piece of Summer Starfruit.
 I took my Paper Piercing Tool and punched holes in the center of the scallops,
 but this is not a necessary step. Glue and layer the pieces together and set aside.


12.  Bend the handle slightly and place it into 
the slots on either side of the basket. With a paper piercer or hole punch,
punch through the handle and the box at the point were the hole is on the inside .


13. Place a small white brad through holes, fold over prongs to secure the handle


14. Place  Stampin' Dimensionals on back of the image and place
it on the front of the box making sure to cover the brad.
Cut a 6" piece of Primrose Petals Stitched Satin Ribbon and form into a simple bow.
 Attach it just below the egg on the image with a Glue Dot.

Fill it with some "grass" and  Easter goodies and your done.


I hope you give this a try and if you have any questions don't hesitate to contact me.

 Have a great and CRAFTY week!


Wednesday, March 6, 2013

God's Special Work of Art


I had a chance to sit down and create a card for MOJO Monday sketch 283. I have been wanting to us the floral paper from the new paper pack by Stampin' Up! The card went together a little differently then I envisioned it, but I am happy with results.

RECIPE

Paper: Very Vanilla 101650, Raspberry Ripple 126842, Pretty in Pink 100459
 Print Poetry DSP 129312, More Amour DSP 129309

Ink:  Staz On Jet Black 101406

Stamp: Trust God 126702 ( C )56+


Sweet Additions: Designer Bundle Brads 129329
 Artisan Embellishments Kit129328 ( cotton lace)
Pearls (non SU)

Dimensionals, SNAIL Adhesive, Multipurpose Liquid Glue

Have a wonderful and CRAFTY day!

1000 Piece Puzzle

  It is a beautiful puzzle,but we probably will NOT do one again. The 500 pc. ones are much more relaxing. Heres hoping you all have a great...