Showing posts with label Everybunny stamp set. Show all posts

Friday, March 8, 2013

Happy Easter Little Chick

Today is the final card that I will be posting in the Everybunny set. There are two more images and I do  have a design in mind for another, but I think that will have to wait until next week.

RECIPE
Paper: Very Vanilla 101650, Watercolor Paper 122959, So Saffron CS 105118,
 Old Olive CS 100702,  Island Indigo CS 122923

Ink: StazOn Jet Black Ink 101406
Various Watercolor Wonder Crayons

Sweet Additions: Old Olive 3/8” Striped Organdy Ribbon  129291
 Perfect Polka Dots Embossing Folder 117335
Adorning Accents Edgelits 125595

Stampin' Dimensionals, Aqua Painter, SNAIL Adhesive
*The card design is from Linda over at stampingschool.com* 
Thanks for stopping by and as always, have a CRAFTY weekend!


Thursday, March 7, 2013

T.N.T. Thursday


Today is reveal day on how to make this sweet little Easter Gift box. 

Let's get started!


These are the pieces you will need to assemble the box. I used the Two Tag Bigz Die to cut the four main pieces. Also shown in the picture is the second tag on the die. It will not be used, but I thought I would give you a look at what it looked like. Once embellished it would make a great bookmark.

1. Cut four of the tags. Two in the patterned paper and two from the solid CS.
I used Print Poetry for the outside of the box 
and Raspberry Ripple for the inside.
 You can cut two at a time in the Big Shot, but not more then that.

2. Cut a piece of CS 7 1/2" x 5/5" for the handle


3. For the box frame, cut a piece of solid CS 2 7/8" x 6 3/4". 
 Score at 1/2" in the landscape position
 and 2" in the portrait position.


4. Taking the 4 tag pieces, fold each piece on the fold lines. Run a bead Multipurpose Liquid glue
  around the outer edge. Place one patterned piece and one solid piece together 
making sure to line them up.


5.  Take the "box" piece and cut up to the score line on the 2" end. 
Do this on both sides as shown in the picture


6. Score the box on all score lines. Taking a piece of Sticky Strip
 and run it up the back side of the 2" end.


 7. Next place a small piece of Sticky Strip along the longer side 
diagonally as shown in the photo.


8. Now it's time to assemble the box. Expose the sticky strip and
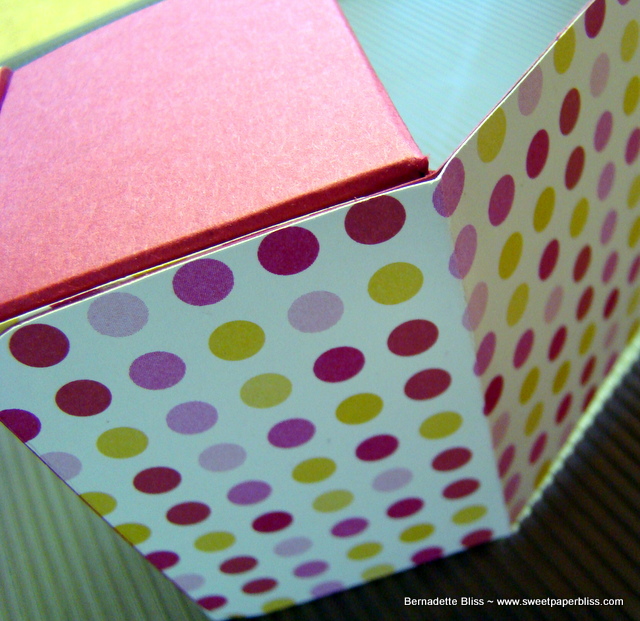
fold the short sides up and secure by burnishing the edge. 
Do this on all four sides.


8. Take the completed outside pieces and run two pieces of Sticky Strip 
across bottom edge of the inside solid side.


9. Attach the outside piece to the bottom of the box making sure
 you have the scored edge lined up with bottom edge.


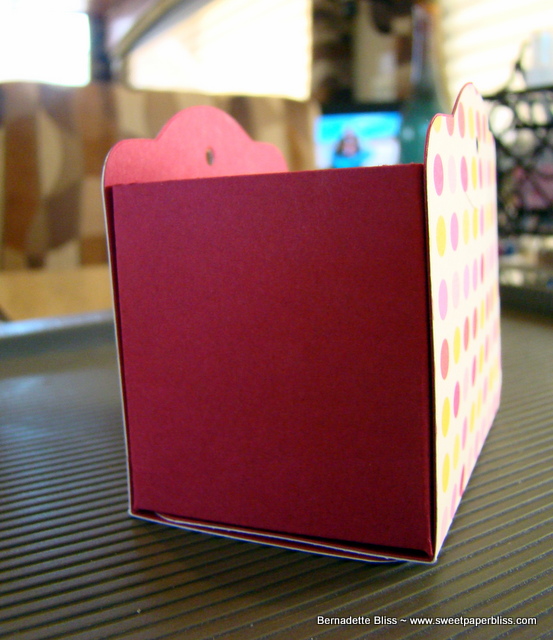
This is how the box should look when the 2 pieces are added.


10. Next stamp your image with StazOn Basic Black on Watercolor Paper. Let it dry a few minutes. I used Watercolor Wonder Crayons and an Aqua Painter to color the image. You can also use Stampin'Write Markers or Ink and Blender Pens.


11. When your image is dry, using the 1 3/4" Circle Punch, punch out the image. 
This will be a little tight, so be careful not to clip his ears. 
Using the Small Scallop Punch, punch out a piece of Summer Starfruit.
 I took my Paper Piercing Tool and punched holes in the center of the scallops,
 but this is not a necessary step. Glue and layer the pieces together and set aside.


12.  Bend the handle slightly and place it into 
the slots on either side of the basket. With a paper piercer or hole punch,
punch through the handle and the box at the point were the hole is on the inside .


13. Place a small white brad through holes, fold over prongs to secure the handle


14. Place  Stampin' Dimensionals on back of the image and place
it on the front of the box making sure to cover the brad.
Cut a 6" piece of Primrose Petals Stitched Satin Ribbon and form into a simple bow.
 Attach it just below the egg on the image with a Glue Dot.

Fill it with some "grass" and  Easter goodies and your done.


I hope you give this a try and if you have any questions don't hesitate to contact me.

 Have a great and CRAFTY week!


Wednesday, March 6, 2013

Everybunny #2

For the next several days I will be highlighting  4 of the 6 images from the cute
 little Everybunny Stamp Set 122707. This card today and the ones that will follow were all colored with a variety Watercolor Wonder Crayons 119803 and a water pen (non SU) on Watercolor Paper 122959. The image was stamped with Staz On Jet Black Ink 101406. A must when you are working with this type of media.

Other Products Used

   Card stock: So Saffron  105118, Old Olive 10070 , Calypso Coral 122976
Very Vanilla 101650, Tea for Two DSP 129311

 Linen Thread 104199
Old Olive 3/8” Striped Organdy Ribbon 129291
 Scallop Squares Duo Bigz Die 120903
Dimensionals,  Snail Adhesive

*This card design is from Linda over at stampingschool.com*

Well enjoy your day, stay CRAFTY, and make sure to stop by tomorrow for 
T.N.T. Thursdays project...

Tuesday, March 5, 2013

A Tisket a Tasket...


For the next several days I will be highlighting 4 of the 6 images from the cute
 little Everybunny Stamp Set 122707. This card and the ones that will follow were all colored with a variety Watercolor Wonder Crayons 119803 and a water pen (non SU) on Watercolor Paper 122959. The image was stamped with Staz On Jet Black Ink 101406. A must when you are working with this type of media. The dress was paper pieced to add a little more interest. 
 Note: Just re-stamp it on the card stock and cut around the outer edge with paper snips.

Other Products Used

Adorning Accents Edgelits 125595, Elegant Bouquet Folder 115964
Small Heart Punch 117193, 2 1/2" Circle Punch 120926

Tea for Two DSP 129311 from the Spring Catalog
Card Stock: Island Indigo 122923, So Saffron 105118
Calypso Coral 122925,Very Vanilla 101650

Stampin' Dimensionals, Snail Adhesive, Multipurpose Liquid Glue

*The card designs are from Linda over at stampingschool.com*


If you still haven't made your Easter cards, this would be a great set. It's not to late to order and you will even have a chance to get SAB items if your order is $50!

Just stop by my site: bernadettebliss.stampinup.net, call or email me to order.

Have a great and CRAFTY week!


Monday, March 4, 2013

Sneak Peek T.N.T. Tutorial

Can I say darling and Easter!

A little teaser today. This cute little basket project will be up on my blog
 for T.N.T. Thursday, March 7th. Make sure to stop by for step by step pictorial instructions.

SEE YOU THEN and have a CRAFTY day!

1000 Piece Puzzle

  It is a beautiful puzzle,but we probably will NOT do one again. The 500 pc. ones are much more relaxing. Heres hoping you all have a great...